Over the last two years or so I’ve been steadily working on improving my drum painting technique. I found the best brands of paint and lacquer, built a turntable and worked on improving my spraying hand.
I’d gotten decent at achieving a smooth result for a single color, and was reaching the limits of what I could do with solid black or white paint jobs. I pride myself on era-correct refurbs and classic looks whenever possible, so I wanted to be able to do faded two town paint jobs (often referred to as “Duco,” that term actually refers to the DuPont Corporation paint that was used).
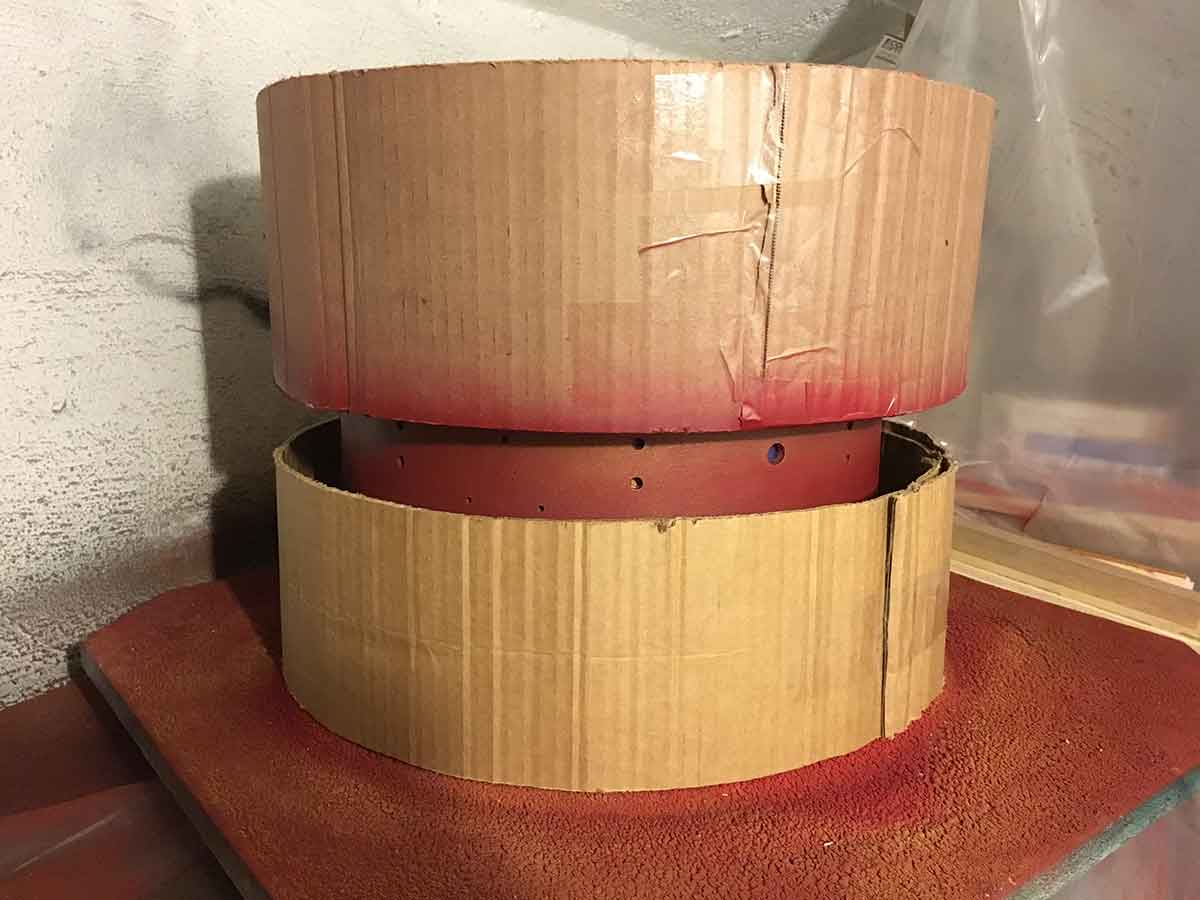
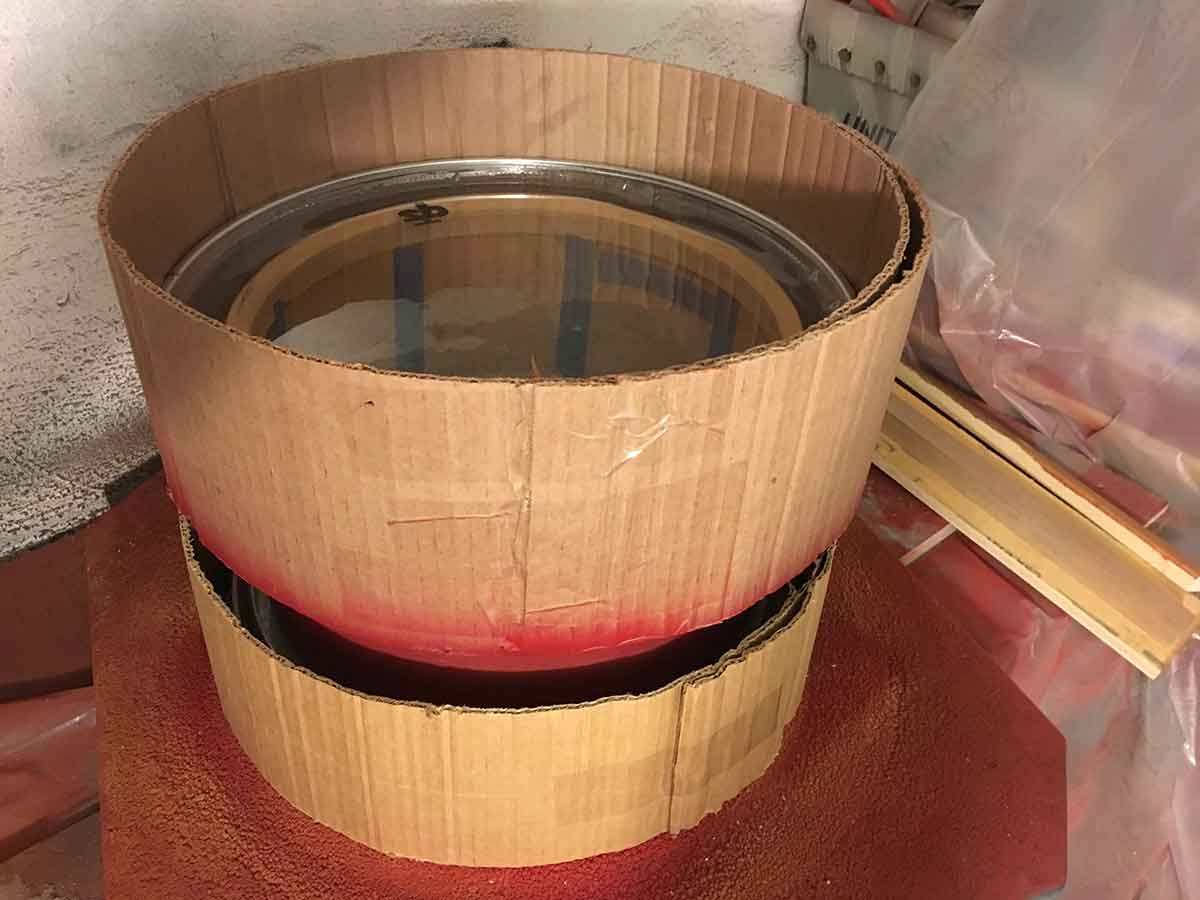
I’d tried to free hand these paint jobs in the past and the result was not so good. But recently a friend mentioned a method for getting a nice fade in a two tone paint job and I adapted what he described to my own purposes. It’s fairly primitive, just a series of two cardboard fences suspended around drum heads to block the edges of a drum and leave a clear stripe in the center. I’ve made quite a few of these fences at this point, and have begun saving all my junk drum heads to aid in this painting.

The top fence is held in place with thumbtacks, and adjusted as needed. I flip the shell to make sure the stripe is symmetrical.

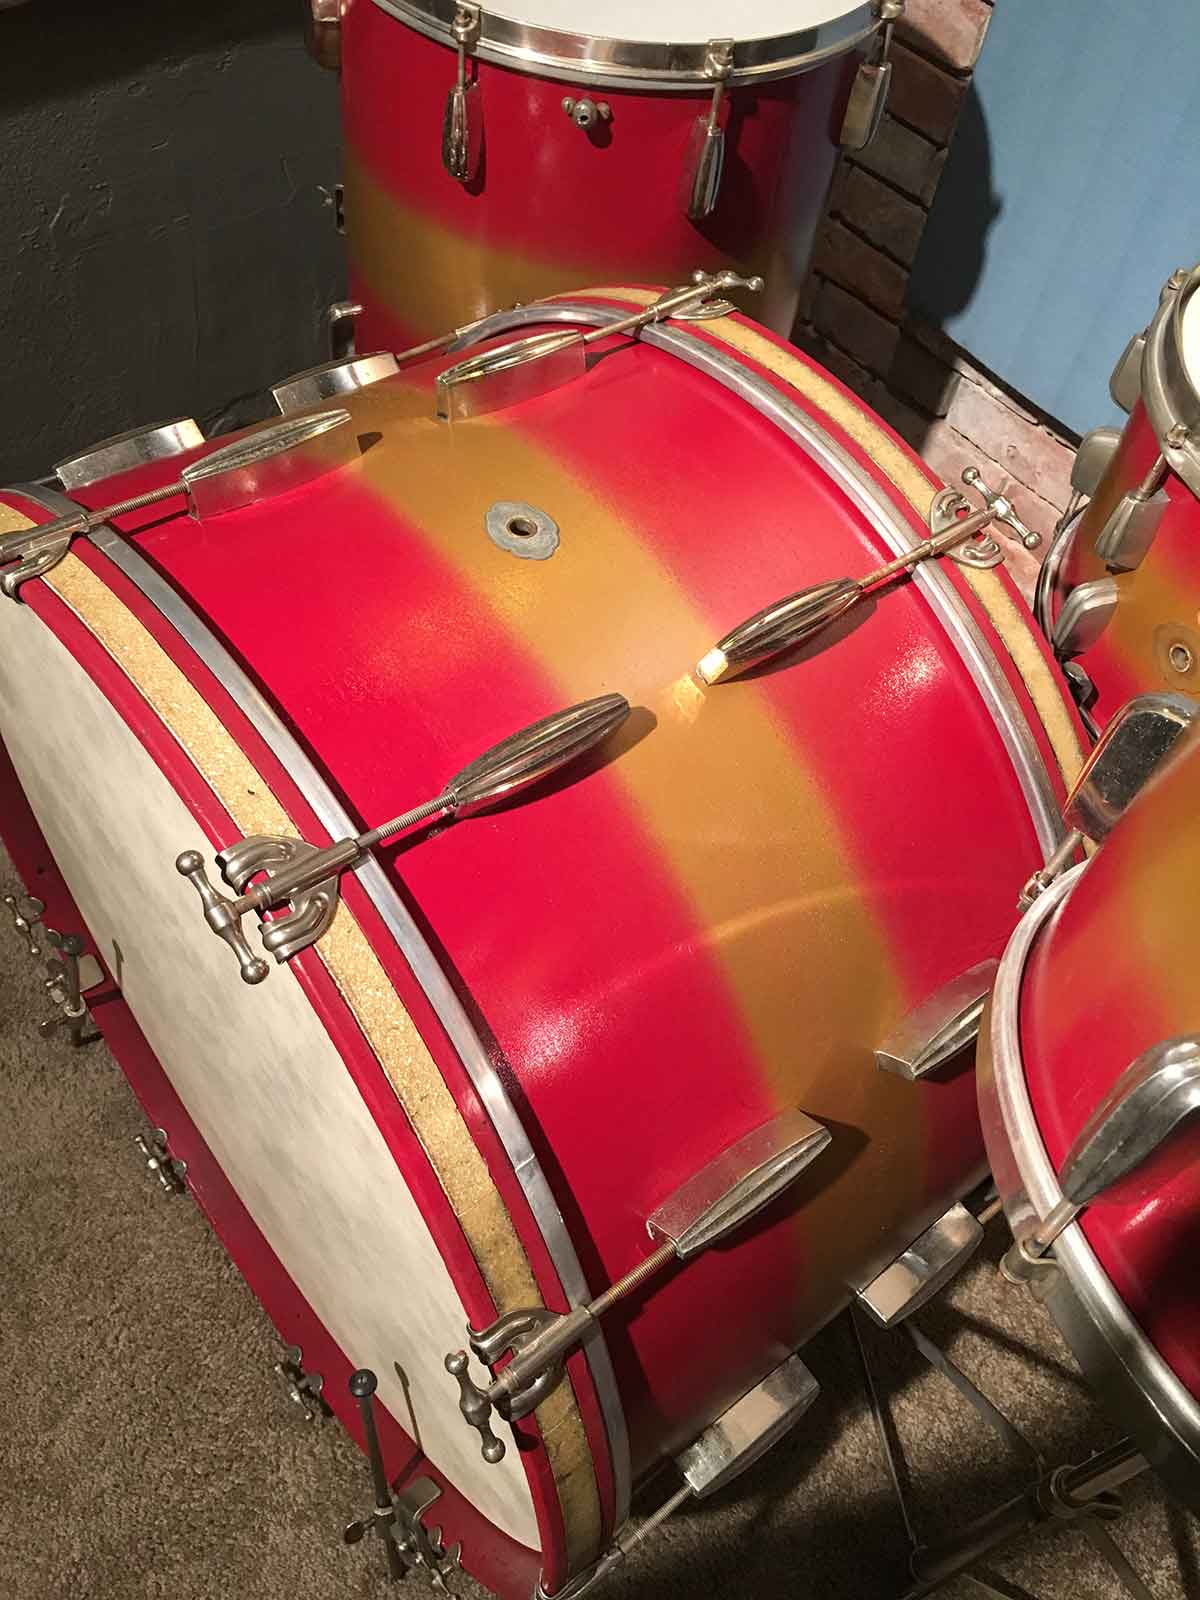
The result with these fences was instantly better than I had dreamed. They take a lot of preparation and care to line up correctly but it’s worth it. Here is a Radio King set that was one of my first two tone paint jobs (the ancient gold sparkle inlays really made this project):

Drum wrap is expensive, and though I’ll still use it for other kits I now feel I’ve advanced enough in painting to do justice to high quality kits like this. And the cost is a fraction of what wrap would be for a 26/13/16/7×14 drum set!
p.s. these red and gold Radio Kings are now sold, sorry…
